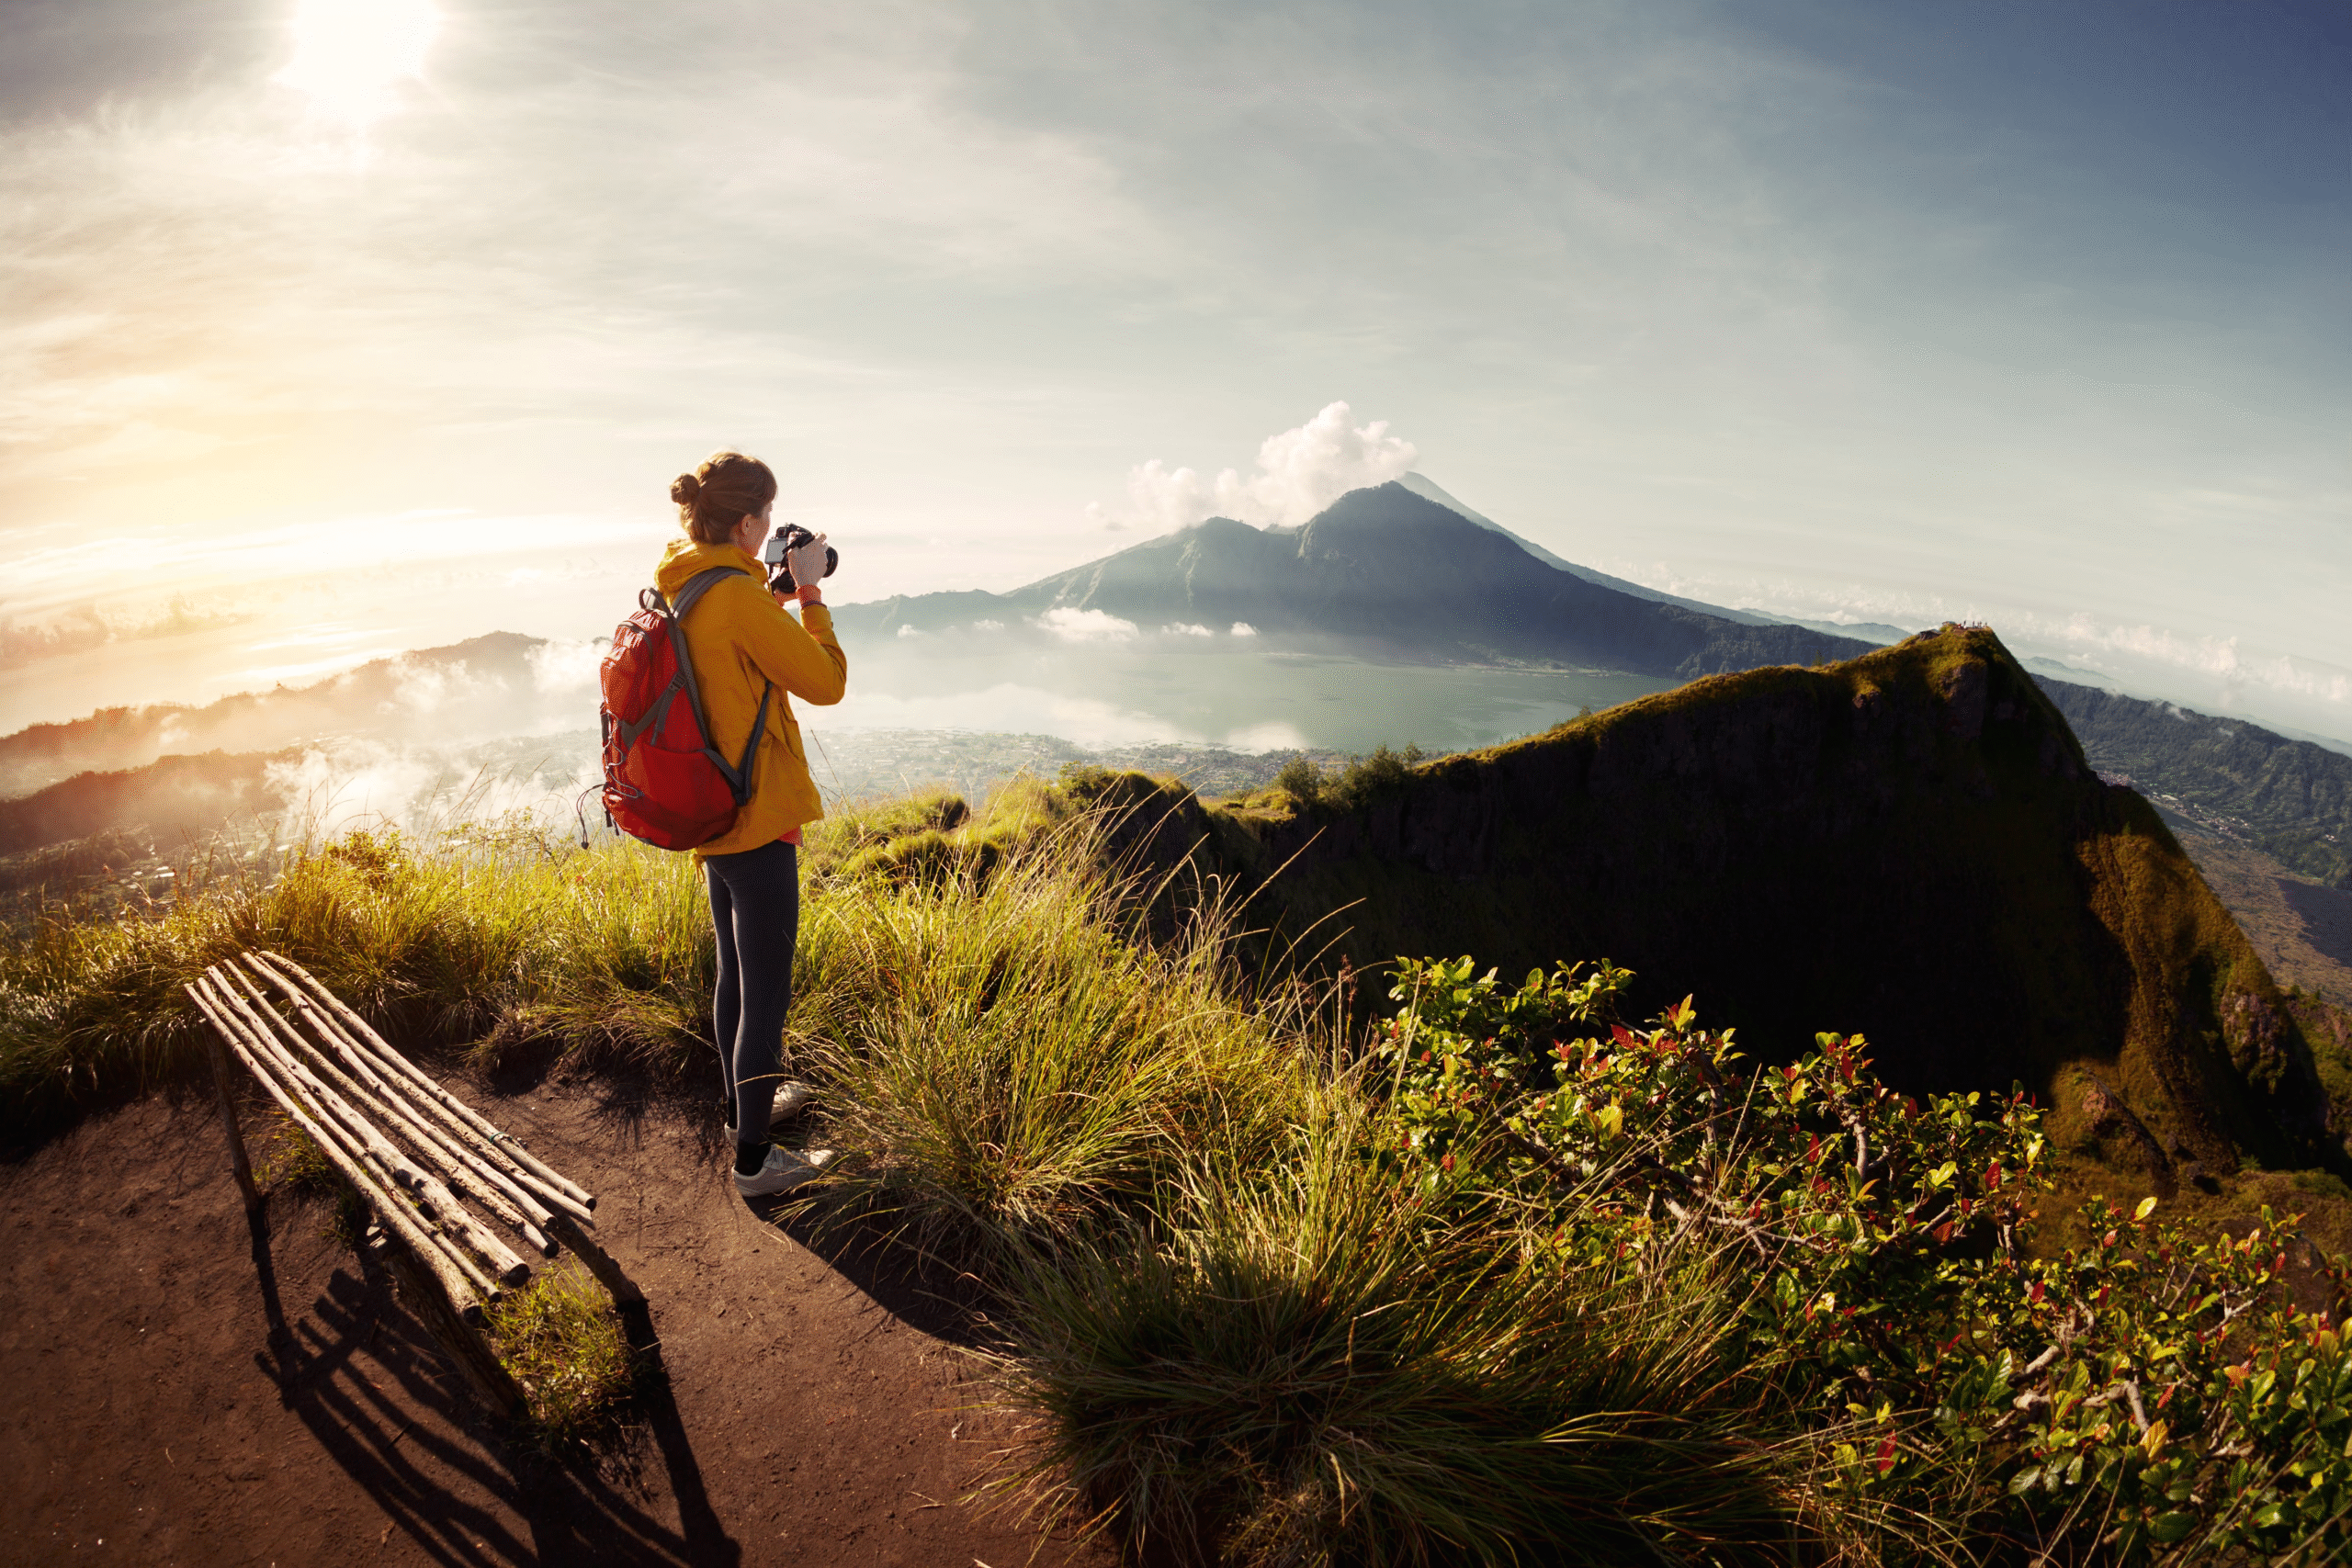
Photography is one of the most rewarding hobbies and professions in today’s world. With smartphones and cameras becoming more advanced, almost everyone has the opportunity to capture beautiful moments. But if you’re just starting out, the number of settings, techniques, and styles can feel overwhelming. The good news is—you don’t need expensive gear or years of training to take stunning photos. By learning some simple techniques, practicing consistently, and developing your own style, you can start taking photos you’ll be proud of.
In this article, we’ll explore the best photography tips for beginners, covering everything from basic camera settings to creative composition, lighting, and practice habits. Whether you’re using a DSLR, mirrorless camera, or just your smartphone, these tips will help you capture sharper, more professional-looking images.
Why Photography is Worth Learning
Before jumping into the tips, let’s quickly understand why photography is such a powerful skill:
- Preserves Memories: A good photo can help you relive moments for years to come.
- Boosts Creativity: Photography encourages you to look at the world differently and notice details others might overlook.
- Career Opportunities: From weddings to commercial shoots, photography can open doors to income opportunities.
- Self-Expression: Through angles, lighting, and editing, you can express emotions and tell stories without words.
With that in mind, let’s dive into the practical tips that every beginner should know.
1. Understand Your Camera (Even If It’s a Smartphone)
Many beginners jump straight into taking pictures without really knowing their camera. Whether it’s a DSLR, mirrorless, or smartphone, take the time to learn the basics:
- Aperture (f-stop): Controls how much light enters the lens. A lower f-number (like f/1.8) creates a blurry background, while a higher one (f/16) keeps everything in focus.
- Shutter Speed: Determines how long your camera’s sensor is exposed to light. Fast speeds (like 1/1000) freeze action, while slow speeds (like 1/30) can create motion blur.
- ISO: Controls the sensitivity of your sensor. Lower ISO (100–200) produces clear images, while higher ISO (800+) can introduce grain/noise.
Even smartphone cameras allow you to adjust some of these settings in “Pro” or “Manual” mode. Spend time experimenting with them—you’ll immediately see how they affect your photos.
2. Master the Basics of Composition
Composition is how you arrange subjects in your frame. A photo can have perfect lighting and clarity, but poor composition will make it look unbalanced. Here are the key rules:
- Rule of Thirds: Imagine your frame divided into a 3×3 grid. Place important subjects along the lines or intersections to create balance.
- Leading Lines: Use natural lines (roads, fences, rivers) to guide the viewer’s eyes toward the subject.
- Framing: Use windows, arches, or trees to frame your subject, adding depth to your photo.
- Negative Space: Don’t be afraid of empty space—it can emphasize your subject beautifully.
Practicing these will help you create visually pleasing and storytelling images.
3. Focus on Lighting
Lighting is everything in photography. The same subject can look completely different under soft morning light compared to harsh midday sun.
- Golden Hour: Shoot during sunrise or sunset for soft, warm light that flatters almost everything.
- Avoid Harsh Midday Light: If you must shoot in bright sunlight, look for shade or use a diffuser to soften shadows.
- Indoor Lighting: Use natural window light whenever possible. If not, try bouncing artificial light off walls for a softer effect.
Remember—photography literally means “drawing with light,” so always pay attention to where your light is coming from.
4. Keep Your Camera Steady
One of the most common beginner mistakes is shaky hands leading to blurry pictures. To avoid this:
- Hold your camera with two hands and tuck your elbows into your body for stability.
- Use a tripod for low-light or long-exposure shots.
- If you don’t have a tripod, place your camera on a stable surface and use the self-timer to avoid shaking.
Even a sharp photo of an ordinary subject will look better than a blurry one of something extraordinary.
5. Practice Shooting Every Day
Photography, like any other skill, improves with practice. You don’t need exotic locations—practice in your home, backyard, or local park.
Here are some ideas to keep practicing:
- Take 10 pictures of the same object from different angles.
- Experiment with shooting in different light conditions.
- Challenge yourself with a “photo-a-day” project for 30 days.
Consistency builds confidence, and over time, you’ll start noticing what works and what doesn’t.
6. Learn to Edit Your Photos
Taking the photo is only half the work—editing brings out its full potential. Beginners don’t need complicated software like Photoshop; free tools like Snapseed, Lightroom Mobile, or VSCO are great to start with.
Editing basics:
- Adjust brightness and contrast for clarity.
- Crop to improve composition.
- Enhance colors slightly, but avoid over-editing.
- Use presets as a guide, but try developing your own style over time.
A little editing can turn a decent shot into something amazing.
7. Don’t Chase Gear—Chase Skills
Many beginners believe they need the latest expensive camera to take good photos. The truth is, skill matters more than equipment. Some of the best photographers in the world have taken iconic shots with basic cameras.
Start with what you have. Once you outgrow it and truly feel limited, then consider upgrading. Until then, focus on improving your eye, creativity, and storytelling.
8. Tell a Story with Your Photos
A photo becomes powerful when it makes people feel something. Instead of just snapping random objects, think about the story you want to tell.
For example:
- A child holding a melting ice cream cone isn’t just about ice cream—it’s about childhood and fleeting moments.
- A street musician in the rain isn’t just about music—it’s about passion despite struggle.
When you focus on emotions and stories, your photos become more meaningful.
9. Join a Photography Community
Learning photography becomes more fun and motivating when you share your work. Join local clubs, online forums, or social media groups. You’ll get feedback, inspiration, and new ideas for your own work.
Platforms like Instagram, Flickr, or Reddit photography groups are great places to start.
10. Be Patient and Have Fun
Finally, remember that photography is a journey, not a race. Your first hundred pictures may not be great, and that’s okay. The key is to enjoy the process, experiment, and keep improving.
Great photographers weren’t born overnight—they built their skills through trial and error. With patience, your photography will evolve beautifully.
Quick Comparison Table: Camera Settings for Beginners
| Setting | What It Controls | Example Use Case |
|---|---|---|
| Aperture | Depth of field, background blur | Portraits (f/2.8) or Landscapes (f/11) |
| Shutter Speed | Motion blur or freeze action | Sports (1/1000) or Light Trails (1/10) |
| ISO | Brightness and noise level | Low light indoors (ISO 800) |
Conclusion
Photography is more than just pressing a button—it’s about learning to see the world differently. By understanding your camera, focusing on composition and light, practicing regularly, and telling stories, you’ll quickly improve your skills. Remember, the best photography tips for beginners are not about having expensive gear but about practicing, experimenting, and having fun along the way.
So grab your camera (or smartphone), start experimenting, and enjoy the art of capturing moments.
FAQs About Best Photography Tips for Beginners
Q1: Do I need a DSLR or mirrorless camera to start photography?
No, you don’t. Many smartphones today have excellent cameras. What matters more is learning the basics of composition, lighting, and practice.
Q2: How can I improve my photography without spending money?
You can practice daily, watch free tutorials online, join photography communities, and edit photos with free apps like Snapseed.
Q3: How do I avoid blurry photos?
Keep your hands steady, use a tripod when needed, increase shutter speed, and make sure your subject is in focus before clicking.
Q4: Should beginners shoot in Auto or Manual mode?
Auto mode is fine for starting out, but learning Manual (or Semi-Manual like Aperture Priority) will give you more control and creativity.
Q5: How long does it take to become good at photography?
It varies for everyone. With regular practice and learning, most beginners see improvement within a few months. The key is consistency and patience.
Menopause marks the permanent end of menstrual periods and fertility, [...]
Mental healthcare services focus on improving emotional and psychological well-being. [...]
Geriatric healthcare focuses on promoting and managing the health of [...]
A retinal detachment diagnosis can be concerning. If this has [...]
Musculoskeletal chest pain refers to discomfort originating in the muscles, [...]
Prenatal care is the ongoing medical support provided during pregnancy [...]
An oral surgeon, or a maxillofacial surgeon, is a dental [...]
Menopause is a natural biological process that marks the end [...]


